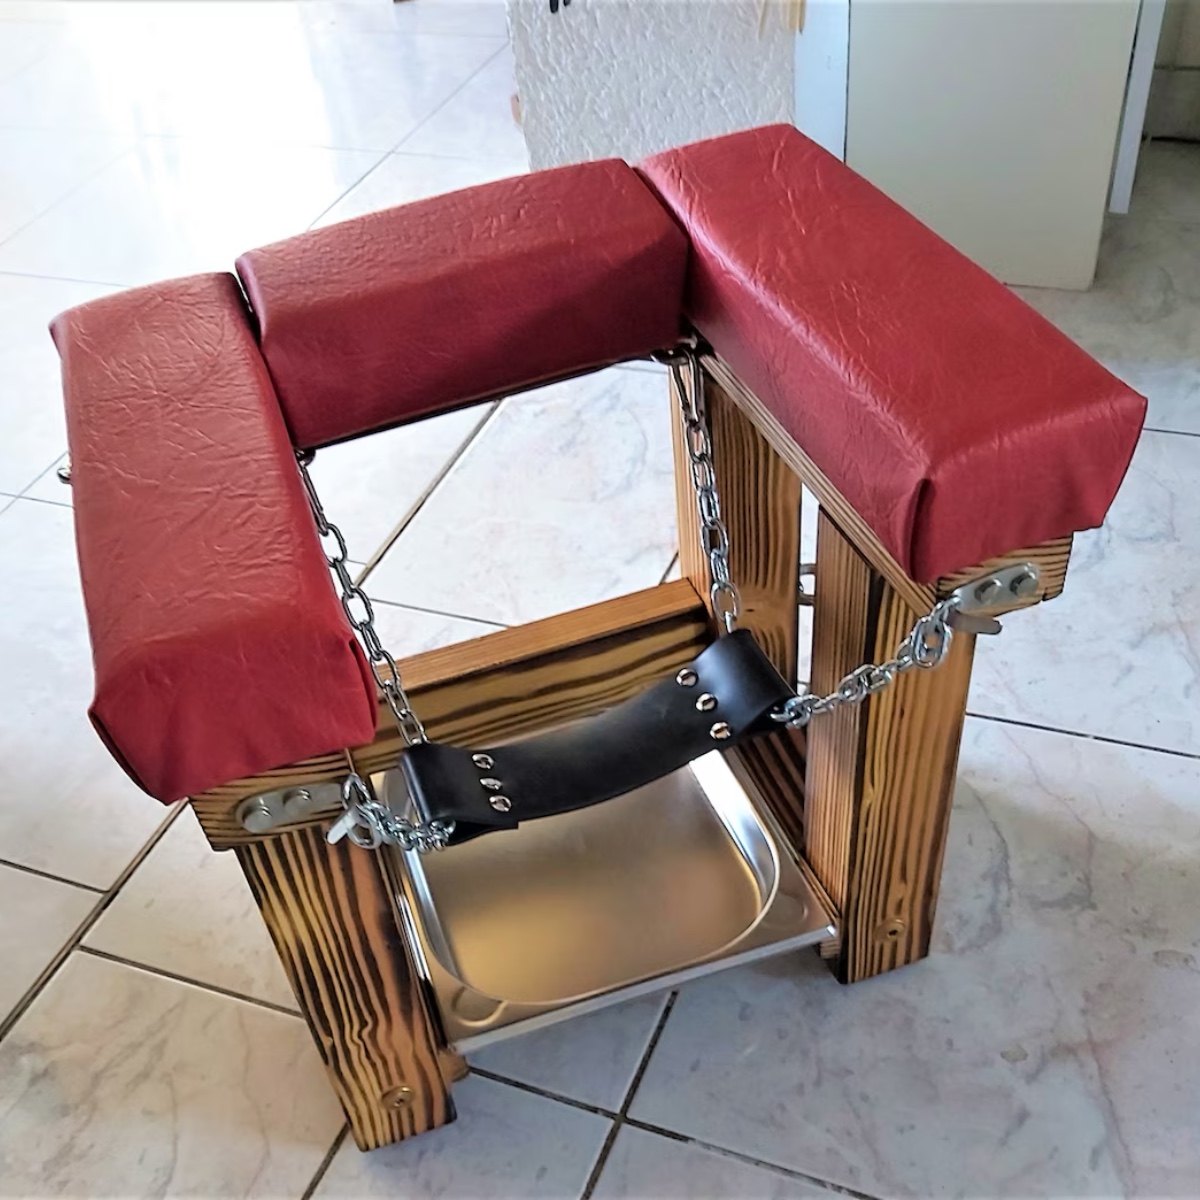
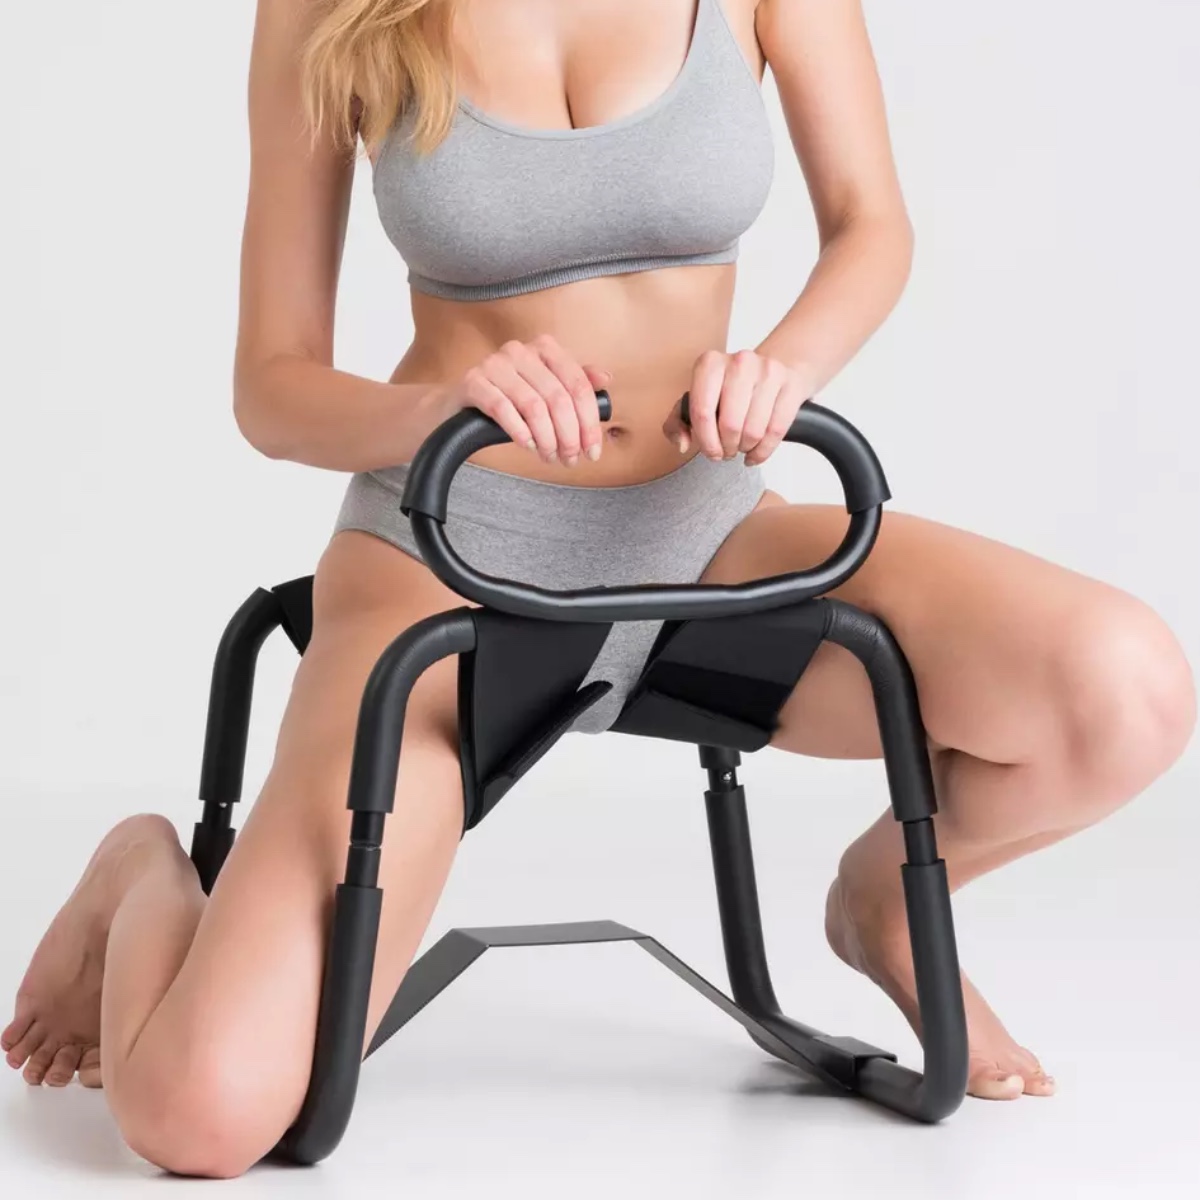
Queening chairs have gained popularity in BDSM and femdom communities for their role in enhancing intimate experiences by providing comfort and support during face-sitting and queening sessions. Building your own queening chair allows for customization and a personal touch, making it a rewarding project for enthusiasts who enjoy DIY activities.
Creating your own queening chair can be a cost-effective and satisfying endeavor. It allows you to tailor the design to your specific preferences and needs, ensuring maximum comfort and functionality. This guide will walk you through the process, from gathering materials to the final assembly, ensuring you end up with a chair that enhances your intimate moments.
This article will cover the necessary materials and tools, planning and design tips, step-by-step construction instructions, and additional advice for finishing and maintaining your DIY queening chair.
Check out the best price for queening chairs by clicking here.
You can also see our other sex position enhancer reviews or our picks of the best queening chairs.
DIY Guide: How to Make Your Own Queening Chair
Materials and Tools Needed
Before you begin constructing your queening chair, gather all the required materials and tools. Here’s a comprehensive list:
Materials:
- Wood: Choose sturdy, high-quality wood for the frame. Plywood or hardwood can work well.
- Screws and Bolts: Ensure you have a variety of sizes to secure different parts.
- Padding: Foam padding for comfort.
- Fabric: Durable fabric to cover the padding, such as leather or faux leather.
- Glue: Wood glue for additional support.
Tools:
- Saw: For cutting wood to size.
- Drill: To make holes for screws and bolts.
- Screwdriver: For securing screws and bolts.
- Measuring Tape: To ensure accurate measurements.
- Sandpaper: For smoothing rough edges.
- Staple Gun: To attach the fabric to the padding.
Where to Source Materials and Tools:
You can find most of these materials and tools at local hardware stores or home improvement centers. Online retailers also offer a wide selection, and buying in bulk can save you money. Ensure the materials are of good quality to guarantee the durability and safety of your queening chair.
Check out the best price for queening chairs by clicking here.
Planning Your Queening Chair
A well-thought-out plan is crucial for a successful DIY project. Here are some tips to help you plan and design your queening chair effectively:
Clear Design and Measurements:
Begin by sketching a detailed design of your queening chair. Consider the dimensions carefully, ensuring it will be comfortable for both partners. Standard dimensions might include a seat height of 18-24 inches and a width of around 18 inches, but you can adjust these based on personal preference.
Measuring and Cutting:
Accurate measurements are key to a stable and comfortable chair. Use a measuring tape to mark your wood before cutting. Double-check all measurements to avoid mistakes. When cutting, ensure your saw is sharp for clean cuts.
Customization Considerations:
Think about how you can customize the chair to suit your needs. For instance, you might want to add adjustable height settings or extra padding for enhanced comfort. Consider the ergonomics and how the chair will be used during sessions.
Assembly Plan:
Plan the assembly process step-by-step. Decide which parts will be assembled first and how they will be joined. Make sure you have all necessary connectors, such as screws and bolts, and a plan for securing the padding and fabric.
Check out the best price for queening chairs by clicking here.
Step-by-Step Building Guide
Building your own queening chair can be a rewarding experience, giving you a customized piece that fits your needs perfectly. Follow these detailed steps to create a sturdy and comfortable queening chair.
Step 1: Cutting the Materials
To start, you’ll need to accurately measure and cut the wood pieces that will form the structure of your queening chair. Here’s how:
- Gather Your Materials: Ensure you have high-quality wood, a measuring tape, a pencil, a saw, and safety gear (gloves and goggles).
- Measure and Mark: Using the measuring tape and pencil, mark the wood pieces according to your design plan. Typically, you’ll need:
- Four legs (each around 18-20 inches, depending on your desired height).
- Four horizontal supports (two for the seat frame and two for the back support, approximately 20-24 inches each).
- Additional supports as needed for stability.
- Cut the Wood: Carefully cut along the marked lines using a saw. For precise cuts, consider using a miter saw. Always cut on a stable surface and wear your safety gear to protect against dust and debris.
- Check the Cuts: After cutting, inspect the edges to make sure they are smooth and straight. Sand any rough edges to prevent splinters and to ensure a snug fit during assembly.
Step 2: Assembling the Frame
With your wood pieces cut to size, it’s time to assemble the frame of your queening chair.
- Lay Out the Pieces: Arrange the cut pieces on a flat surface according to your design plan. This will help you visualize the structure and ensure all pieces are present.
- Assemble the Base: Start by attaching the horizontal supports to the legs. Use wood screws and a drill to secure the pieces together. It’s important to pre-drill holes to prevent the wood from splitting.
- Add Vertical Supports: Once the base is secure, attach the vertical supports for the backrest. Ensure these are aligned properly and secure them with screws.
- Reinforce the Frame: For added stability, consider adding diagonal braces between the legs and horizontal supports. This will prevent wobbling and ensure the frame is sturdy.
- Check Stability: Once the frame is assembled, gently shake it to check for stability. Tighten any screws as needed and make sure all joints are secure.
Step 3: Adding Padding and Fabric
To make your queening chair comfortable, you’ll need to add padding and cover it with fabric.
- Choose Your Padding: Select a high-density foam for the seat and backrest. This type of foam provides good support and comfort.
- Cut the Padding: Measure the seat and backrest areas, then cut the foam to fit. Use a sharp utility knife for clean cuts.
- Attach the Padding: Secure the foam to the seat and backrest using an adhesive spray. Ensure it is positioned correctly before the adhesive sets.
- Cover with Fabric: Choose a durable, easy-to-clean fabric. Measure and cut the fabric to cover the foam, leaving extra material to wrap around the edges.
- Secure the Fabric: Stretch the fabric over the padding and secure it to the underside of the seat and backrest using a staple gun. Make sure the fabric is taut and smooth.
Step 4: Final Assembly and Finishing Touches
Now that the main components are ready, it’s time to assemble the chair and add any finishing touches.
- Assemble the Chair: Attach the padded seat and backrest to the wooden frame. Use screws and brackets as needed to ensure a secure fit.
- Add Finishing Touches: Sand any remaining rough edges on the wood. If desired, paint or stain the wood to match your decor. Allow the paint or stain to dry completely before use.
- Check for Stability: Once fully assembled, sit on the chair and check for any wobbling or instability. Tighten screws and make adjustments as needed.
- Decorative Elements: Add any decorative touches such as trim, buttons, or tufting to personalize your queening chair. Ensure all additions are securely attached.
Check out the best price for queening chairs by clicking here.
Safety Considerations
Ensuring safety when building and using a queening chair is paramount. Proper construction and maintenance can prevent accidents and enhance the overall experience, making it enjoyable and secure for both partners.
Safety Tips for Building and Using the Chair
When constructing your queening chair, follow these safety tips to create a sturdy and reliable piece of furniture:
- Use High-Quality Materials: Choose strong, durable materials such as solid wood or heavy-duty metal for the frame. Avoid using cheap or flimsy materials that can break under pressure.
- Follow Accurate Measurements: Ensure all parts are cut and assembled precisely according to your design plan. Incorrect measurements can compromise the stability and safety of the chair.
- Secure Joints and Connections: Use appropriate hardware, such as screws, bolts, and brackets, to firmly secure all joints and connections. Loose parts can lead to instability and potential accidents.
Checking for Stability and Securing All Parts
Before using the queening chair, conduct thorough checks to confirm its stability:
- Test the Weight Capacity: Gradually apply weight to the chair to ensure it can comfortably support the intended load without creaking or wobbling.
- Check All Fastenings: Regularly inspect screws, bolts, and other fastenings to make sure they are tight and secure. Over time, these can loosen and need retightening.
- Level Surfaces: Place the chair on a flat, level surface to prevent tipping or uneven weight distribution. If necessary, use additional support or leveling tools to stabilize the chair.
Importance of Regular Maintenance and Inspections
Routine maintenance and inspections are crucial for keeping your queening chair in top condition:
- Inspect for Wear and Tear: Regularly check for signs of wear, such as cracks in the wood, rust on metal parts, or fraying fabric. Address any issues immediately to maintain safety.
- Clean and Care for Materials: Follow cleaning and care instructions for the materials used in your chair. This not only ensures hygiene but also extends the life of the chair.
- Replace Damaged Parts: If any part of the chair becomes damaged or worn out, replace it promptly. Do not use the chair until all repairs are made.
Check out the best price for queening chairs by clicking here.
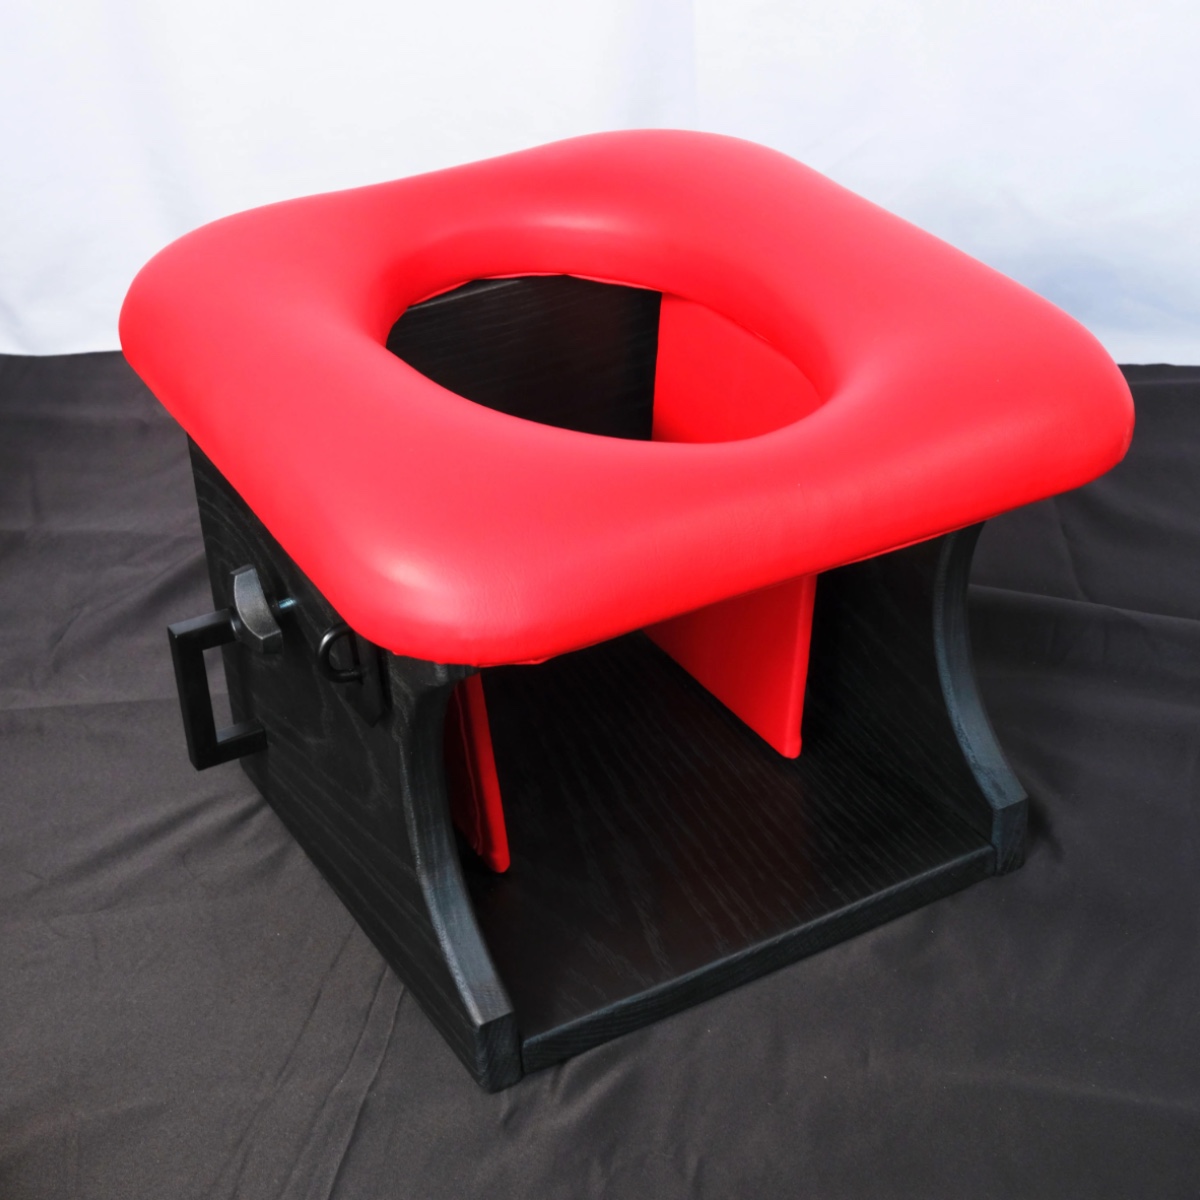
Tips for Customization
Customizing your queening chair not only makes it more visually appealing but also enhances its functionality and comfort. Here are some ideas to personalize your chair:
Fabrics and Colors:
Choose fabrics that match your personal style and room decor. Leather or faux leather are popular choices due to their durability and easy cleaning. For a more luxurious feel, consider velvet or suede. You can also play with colors to make the chair more vibrant or subtle, depending on your preference.
Decorations:
Adding decorative elements can make your queening chair stand out. Consider incorporating studs, embroidery, or even custom stitching on the fabric. These details can add a touch of elegance and make the chair uniquely yours.
Adjustable Height:
One of the most useful customizations is making the chair height adjustable. This can be achieved by using telescopic legs or adding screw-adjustable feet. Adjustable height can cater to different users and ensure maximum comfort during sessions.
Extra Padding:
For added comfort, consider incorporating extra padding in the seat and backrest. Memory foam is an excellent option as it provides superior comfort and support. You can also add cushions or bolsters that can be easily removed and cleaned.
Armrests and Footrests:
Adding armrests or footrests can enhance the user’s comfort and provide additional support. Ensure these elements are sturdy and well-padded to avoid discomfort during prolonged use.
By implementing these customization tips, you can create a queening chair that is not only comfortable and functional but also a reflection of your personal style and preferences.
Check out the best price for queening chairs by clicking here.
Conclusion
Building your own queening chair can be a rewarding project that offers both practical and personal benefits. By following the steps outlined in this guide, you can create a custom-made chair that enhances your intimate moments and suits your individual needs.
Recap the key steps involved in building a DIY queening chair: gather the necessary materials and tools, plan your design carefully, and follow the construction instructions to assemble your chair. Don’t forget to personalize it with custom fabrics, colors, and additional features for added comfort and style.
Taking on this project allows you to enjoy the satisfaction of creating something uniquely yours while also benefiting from a piece of furniture that enhances your intimate experiences. We encourage you to share your experiences and any modifications you made to the design, as this can inspire others to embark on their own DIY journey. Enjoy the process and the final product!
Check out the best price for queening chairs by clicking here.
